
Congratulations on your New Key Fob
These ten steps will show you detailed instructions and visuals.
Please contact us for concerns.
Tired of your Jeep Wrangler keys looking like they just survived the Rubicon Trail? Give your keychain an instant style upgrade with our custom fobs, built specifically to house your original OEM circuit board and electronics. Just pop the guts out of your factory remote, drop them into our rugged, premium shell following our quick step-by-step guide, and lock it down completely scratch-free. It’s the easiest trail-ready mod your Jeep will get all week—no tools, no programming hassle, and zero risk to your electronics.
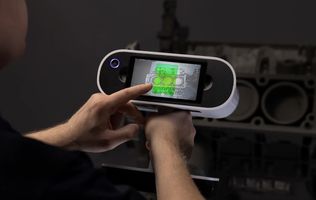
It All Begins With Technology
By utilizing the newest LiDar technology available with extremely tight tolerances of 0.02mm, we are able to begin on the right foot and create a never-before-seen product that looks and feels OEM from Jeep directly.
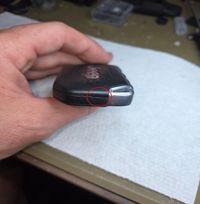
Begin here
Insert a flat screwdriver or supplied key into this small gap on the top of the Jeep key fob and twist to start the separation of the top and bottom. A few pops and cracks will be heard, but it is intended to be separated, no damage will occur.
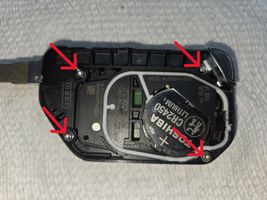
Remove 4 screws
After separating the top and bottom of the key fob, you will see these 4 screws, use a 1/5mm hex driver to back these out.
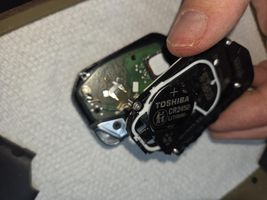
Remove the battery and gasket
Once the four screws are removed, lift the battery compartment and gasket from the circuit board. Don't worry, our key fob has a battery compartment as well. Place the circuit board and battery nearby as you'll be placing them into the new Jeep fob immediately.
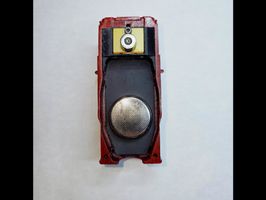
Place the battery into the top half
Laying the top half of the new Jeep fob onto a flat surface, place the original battery (or replace it now for longevity, but it can easily be replaced later) into the open cavity as shown in the image.
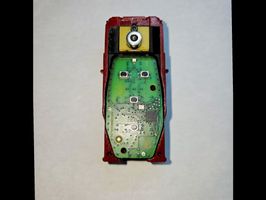
Place the circuit board inside
Place the original circuit board gently onto the cavity space as shown in the image. It will sit somewhat flush with the sides. Don't worry if it's not exactly flat quite yet. Once you join the bottom half, the hex bolts you originally removed will suck the two halves together for a tight compartment. Place the top half to the side, being careful not to bump it until you're ready to join the bottom half in a few steps.
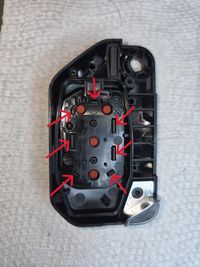
Remove OEM buttons from fob exterior
These tabs noted by red arrows are very durable and have been pushed multiple times by our team to ensure they won't break off on your key fob. With that flat head screwdriver pry a couple tabs moving from the outside toward the inside to pop them off. After one or two are removed from the OEM key fob, the rest will easily pop out as well.
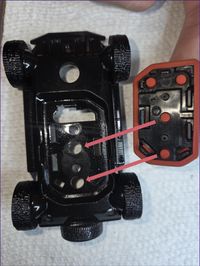
Push OEM buttons onto base of your new Jeep fob
Line up the red rubber bump pads from the base of the OEM keys you just removed from the old OEM fob and push them onto the base of your new Jeep key fob from the base. By turning the Jeep fob upside down, you'll notice the top right corner has a 45 degree edge. By lining up that corner, the tabs with the holes as shown in this photo requires only a little bit of pressure as they all will easily "pop" into place.
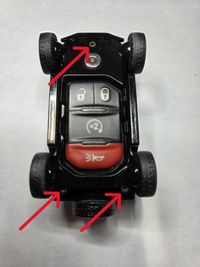
Final step, replace the bolts!
Slowly slide the bottom of the Jeep fob back onto the top half. Using the round charging plate as reference will help. Replace the three 1.5mm hex screws you first removed from your new Jeep key fob.
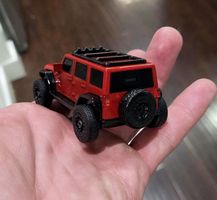
Enjoy the Prestige
You are now holding one of the first fully functional key fobs that is paired to your exact Jeep that actually looks like your Jeep. Let us know your thoughts and feedback is always appreciated!